A calm mobile app launch comes from finishing twelve checks before you press publish: a frozen scope, tested builds on real devices, a complete store listing, working analytics and a named support owner. Skip any of them and release day becomes a scramble of hotfixes. This checklist follows the Launch and Support phase Axire Infotech uses on client projects.
| Phase | Steps | Main output |
|---|---|---|
| Product | 1. Scope freeze | Agreed release feature list |
| Product | 2. Functional QA | Bug list with severity |
| Product | 3. Device and network testing | Device matrix results |
| Product | 4. User acceptance testing | Sign-off from the business owner |
| Stores | 5-8. Policies, listing, privacy, submission | Approved store listing |
| Operations | 9-10. Analytics and crash reporting | Tracked events and alerts |
| Operations | 11-12. Support plan and staged rollout | Named owner and release plan |
Most launches go wrong because teams treat release day as a single event. In practice it is a sequence: testing, store approval, monitoring and support. A broken sign-up flow, an incomplete listing or a missing support plan can each undo months of build work.
Unlike a website, an app cannot be quietly swapped out. Once a version is in the stores, users download it, and fixes need a new submission and review. That is why the checks below come first.
Axire Infotech builds cross-platform apps with React Native, so one codebase serves iOS and Android. That halves some work, but it does not remove the need to test on both platforms. For background, see our explainer on cross platform app development for first-time app owners.
Agree the exact feature list for version one and stop adding to it. Every late feature resets testing. Park new ideas in a version-two list instead. If you are unsure what belongs in release one, our guide to MVP feature prioritisation helps.
Test every user journey end to end: sign-up, login, password reset, core action, payment if you have one, and account deletion. Rank each bug as blocker, major or minor. Blockers must be fixed; minor bugs can wait for the first update.
Build a short device matrix: one older and one recent iPhone, a budget Android phone and a flagship Android phone. Test on weak mobile data and in airplane mode. Apps often fail here, not on a developer's fast Wi-Fi.
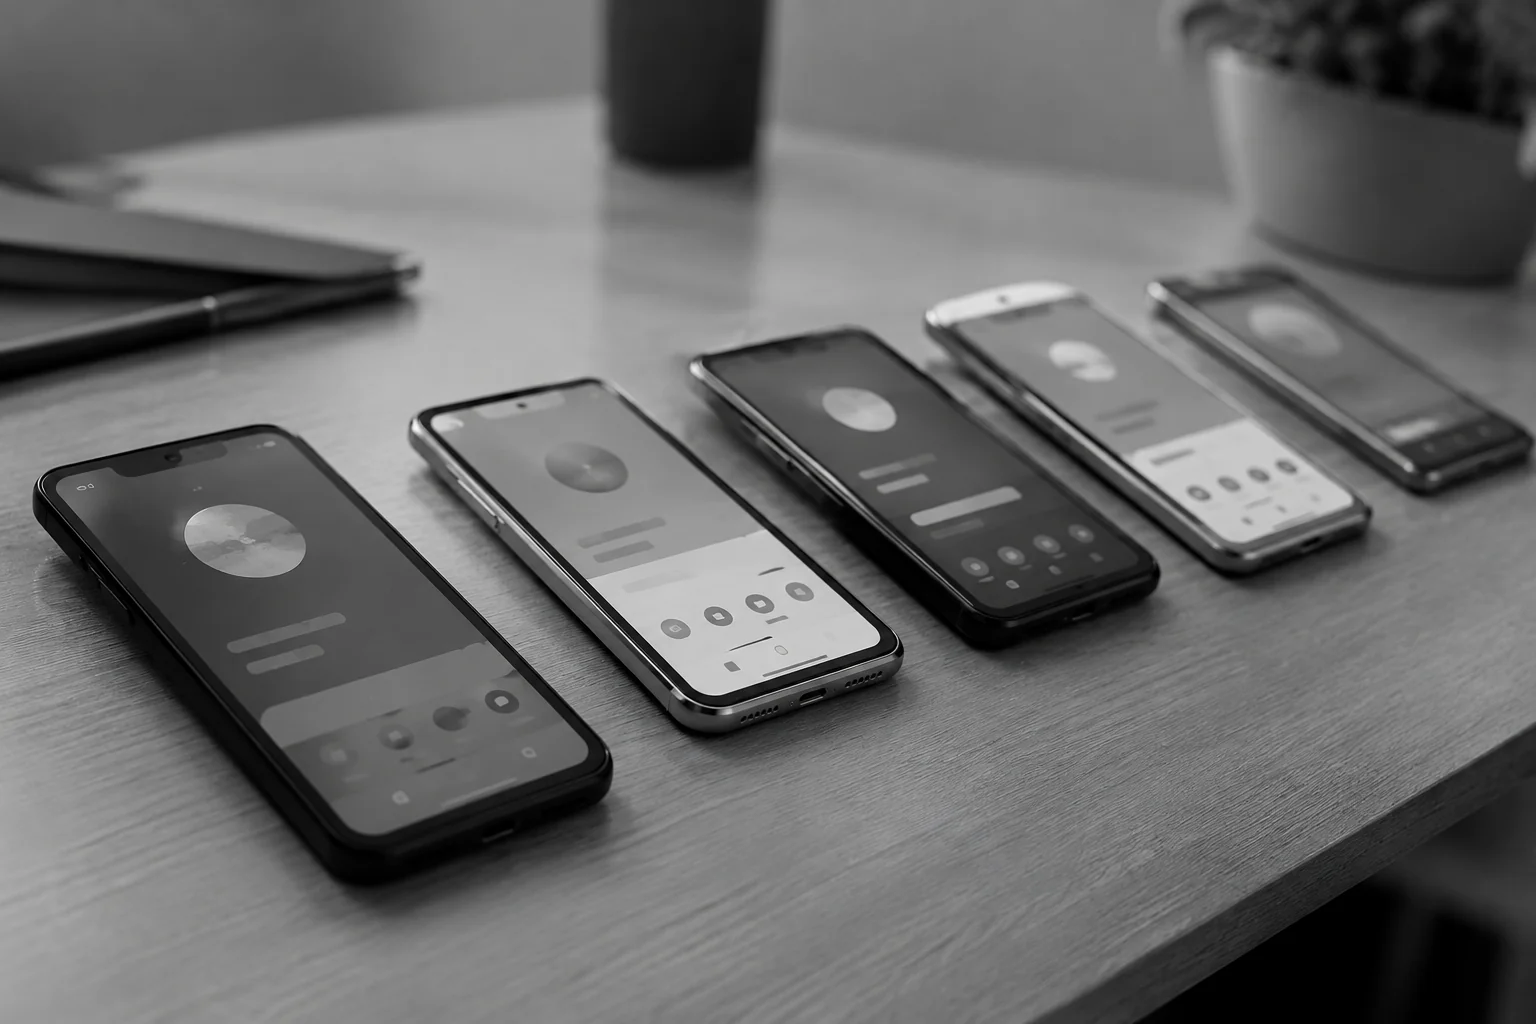
Give a build to a few real users or staff who did not build it. Watch where they hesitate. Our UAT checklist before launch lists what to cover. Finish with a written sign-off so nobody argues later about what was agreed.
Google publishes a launch checklist that covers the publishing process, Google Play policies and core app quality; see the Android Developers launch checklist. Apple has equivalent review rules. Read both before you build the listing, not after a rejection.
You need an app name, description, icon, screenshots, category and contact details. Write the description for the user problem, not the feature list. Prepare screenshots for each device size the store asks for.
Publish a privacy policy that matches what the app really collects. For European users, GDPR applies, and accessibility rules are tightening, so check your app against our note on the mobile app development guide for Sweden if you serve Nordic users. Mismatched privacy answers are a common reason for review delays.
Submit well before your planned date. Review times vary and a rejection means resubmitting. Do not announce a launch date to customers until the build is approved. This is an open risk: nobody can guarantee review speed.
Decide five to ten events that show whether the app works: sign-up completed, first key action, purchase, and drop-off points. Test that each one fires in the release build, not just the debug build. An event that never fires is a common launch-day surprise.
Install crash reporting and set alerts so the team hears about failures before users leave one-star reviews. Check that reports include the app version and device model.
Name who answers user emails, who triages bugs and who can ship a fix. Set a response target. Axire replies to inquiries within 2 hours in business hours, and we suggest clients set a similar internal standard for their users.
Release to a small share of users or a closed beta first, watch the crash and event data for a few days, then widen. If something breaks, you reach few people. My view: for a first app, staged rollout is worth the extra days almost every time.

A post-launch plan should cover bug fixing, store review replies, monitoring, OS updates and a first improvement release. Agree these before launch with a named owner for each, so users get answers and the app keeps working as iOS and Android change.
In the first weeks, check crash rates and key events daily, reply to every store review and collect feedback for version two. Budget for ongoing maintenance too; our mobile app cost drivers article explains what moves the number.
Axire's process runs Discovery and Planning, Design and Prototyping, Development and Testing, then Launch and Support. Support is part of the plan, not an afterthought. You can see past work such as MustQR, Pehchaan and Solace Sofas on our projects page.
Submit at least one to two weeks before your target date. Review times vary and rejections need resubmission, so build a buffer rather than relying on a fixed turnaround.
You need separate store listings and submissions, but one shared test plan works when the app uses one codebase, as React Native apps do. Still test both platforms on real devices.
You can, but you will be guessing. Setting up a handful of events before release is cheap compared with trying to reconstruct user behaviour afterwards.
If you want a calmer release, talk to a team that plans launch from day one. Explore our app development service, or see all services. To review your launch plan with us, contact Axire Infotech or email hello@axire.in.
Let's discuss your project and create something amazing together.
